
Overview
Each sub account gets its own scheduling workspace: connect an external calendar, define working hours, publish bookable event types, manage bookings, and create API keys for automated or AI-driven scheduling.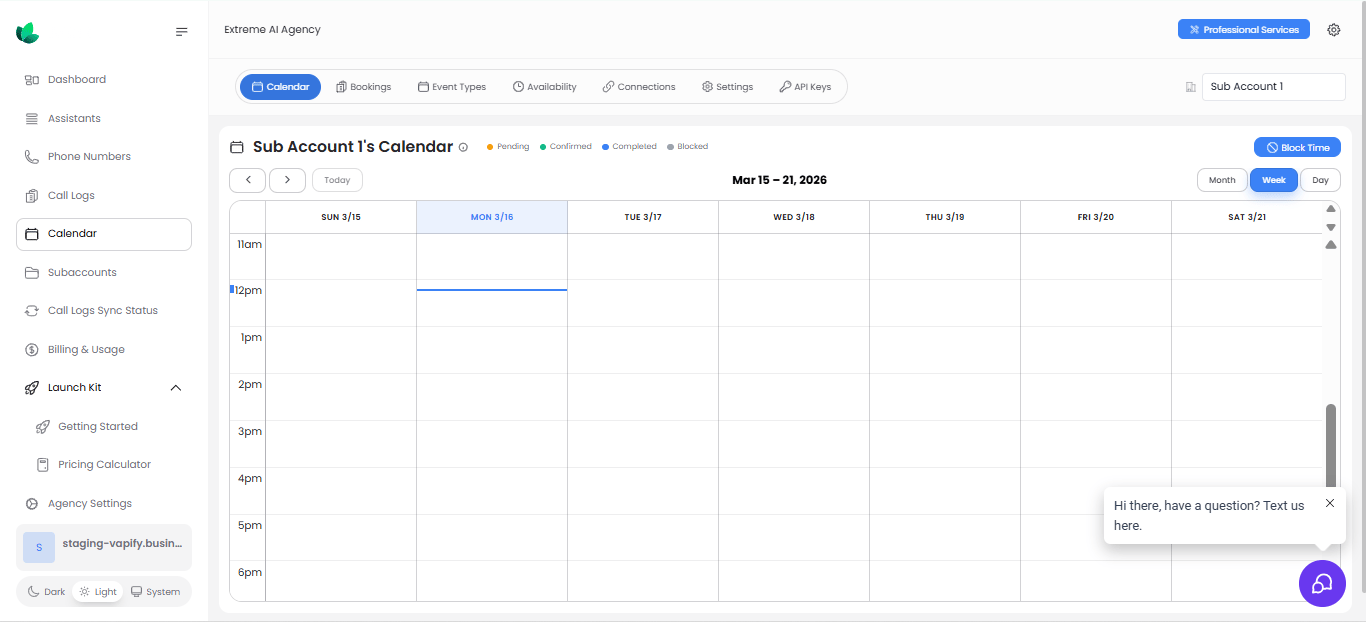
Calendar settings are per sub account. Use the subaccount selector in the top-right of the Calendar page before making changes.
The six tabs
Recommended setup order
- Connect a calendar provider (Connections tab)
- Configure availability and blocked time
- Create event types
- Review booking settings
- Share booking links or create API keys
Connecting a provider
Open Calendar → Connections, click New Calendar Connection, and choose a provider.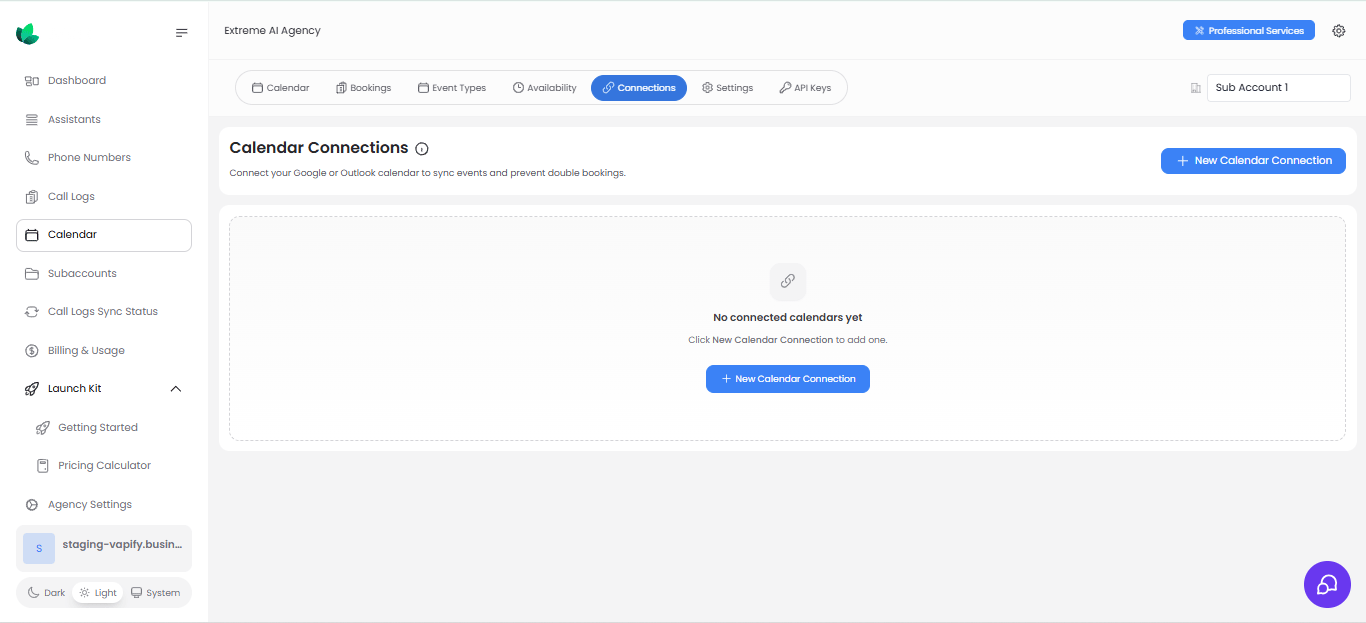
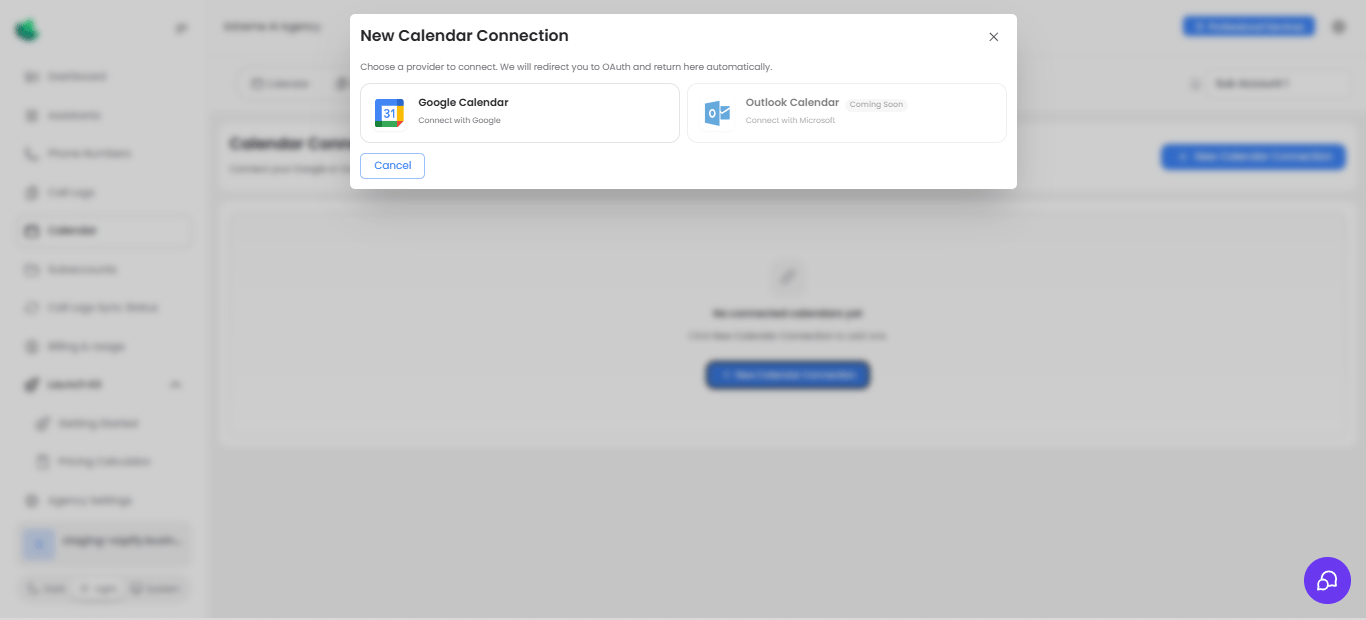
- Google Calendar: available now
- Outlook Calendar: shown as Coming Soon
Setting availability
The Availability tab sets working hours, additional availability profiles, and blocked time for breaks or time off.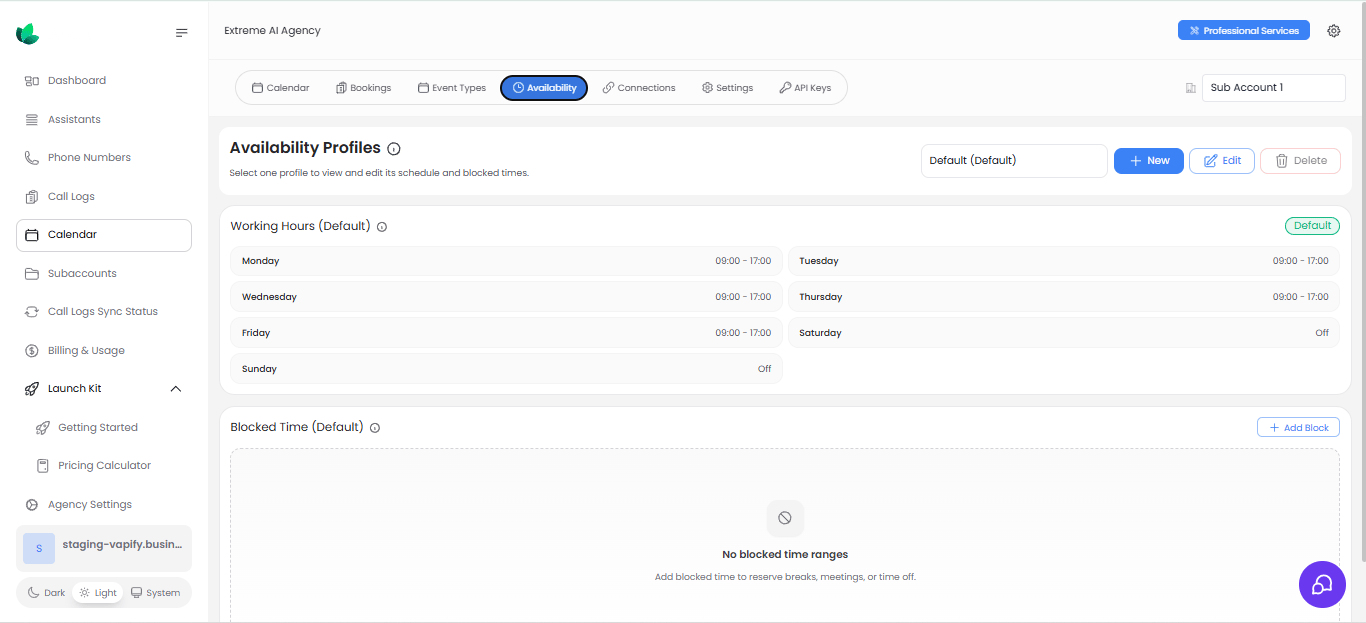
Creating event types
Each event type defines a booking name, duration, buffer time, location (e.g., a Google Meet link or physical address), and which availability profile to use. Use Copy URL to share the booking link once live.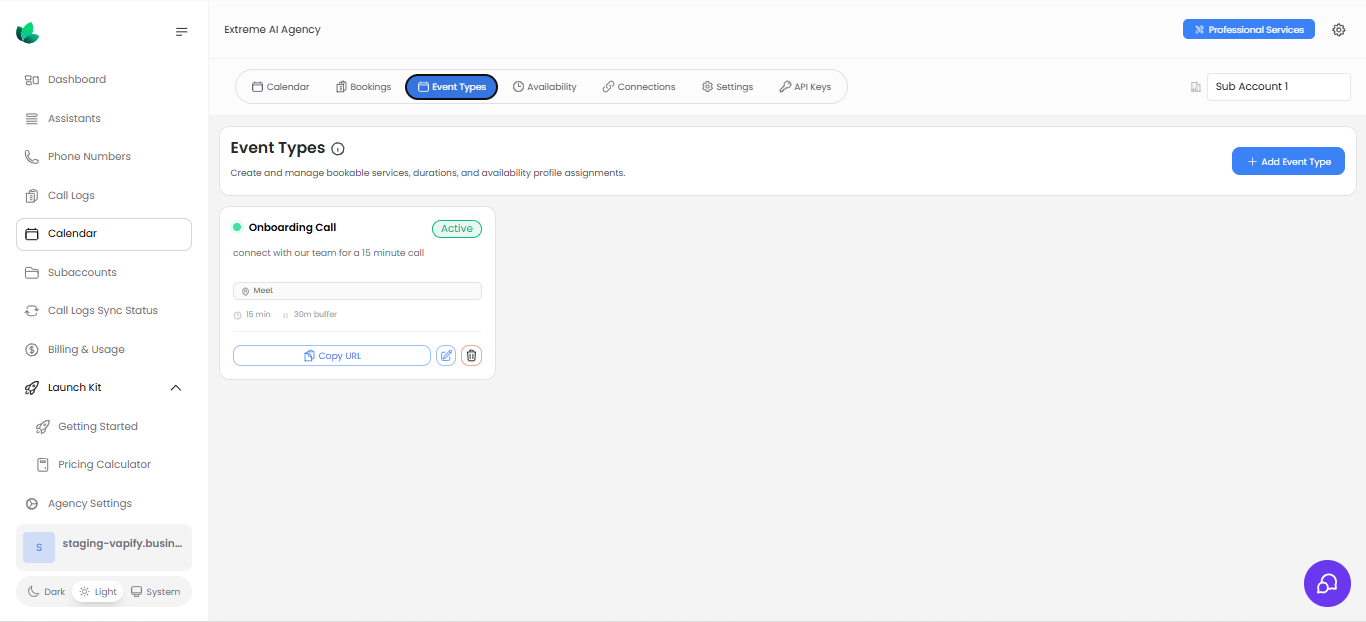
Create a separate event type per appointment purpose rather than reusing one link for everything. It keeps duration, buffers, and reporting clean.
Reviewing bookings and settings
Use the Bookings tab to filter by date, status, or event type, and the Settings tab to set timezone, duration defaults, and notice windows.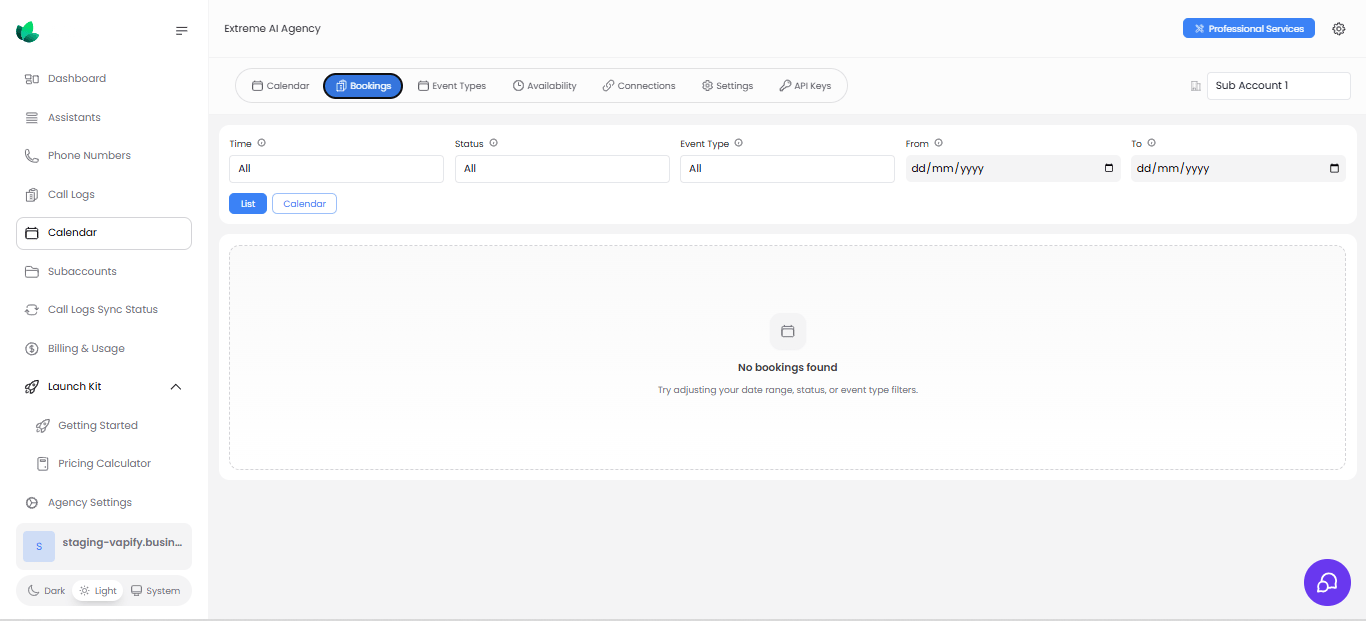
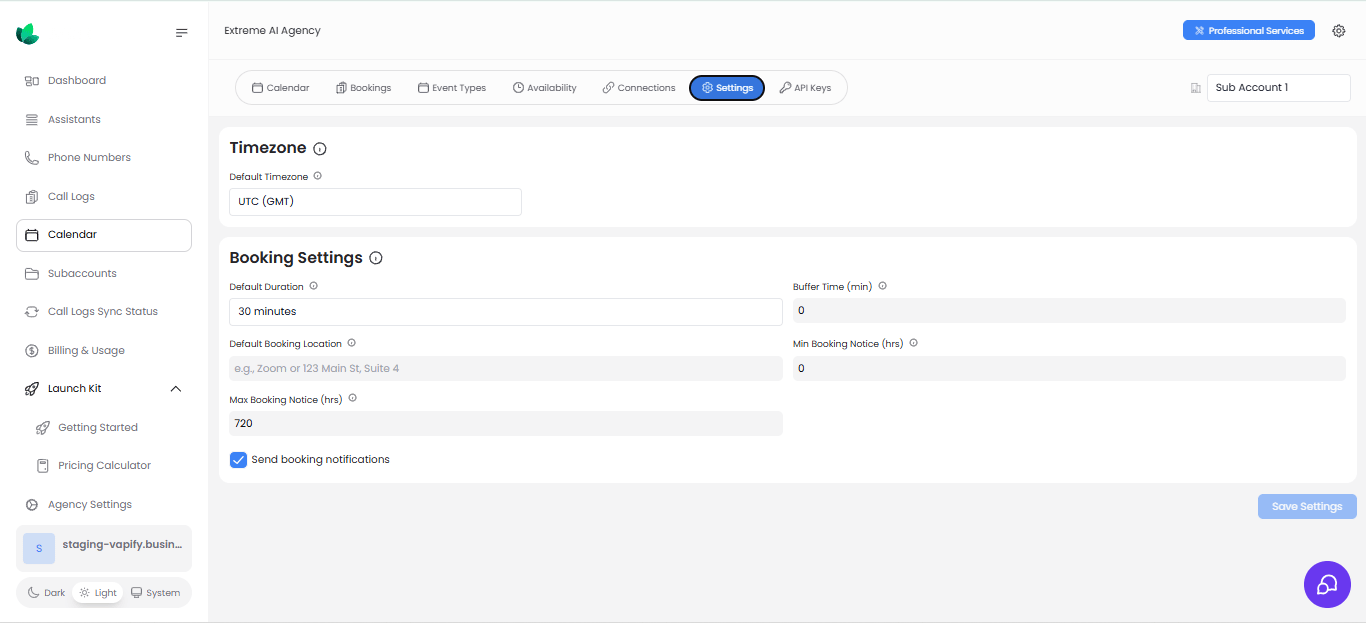
Creating a calendar API key
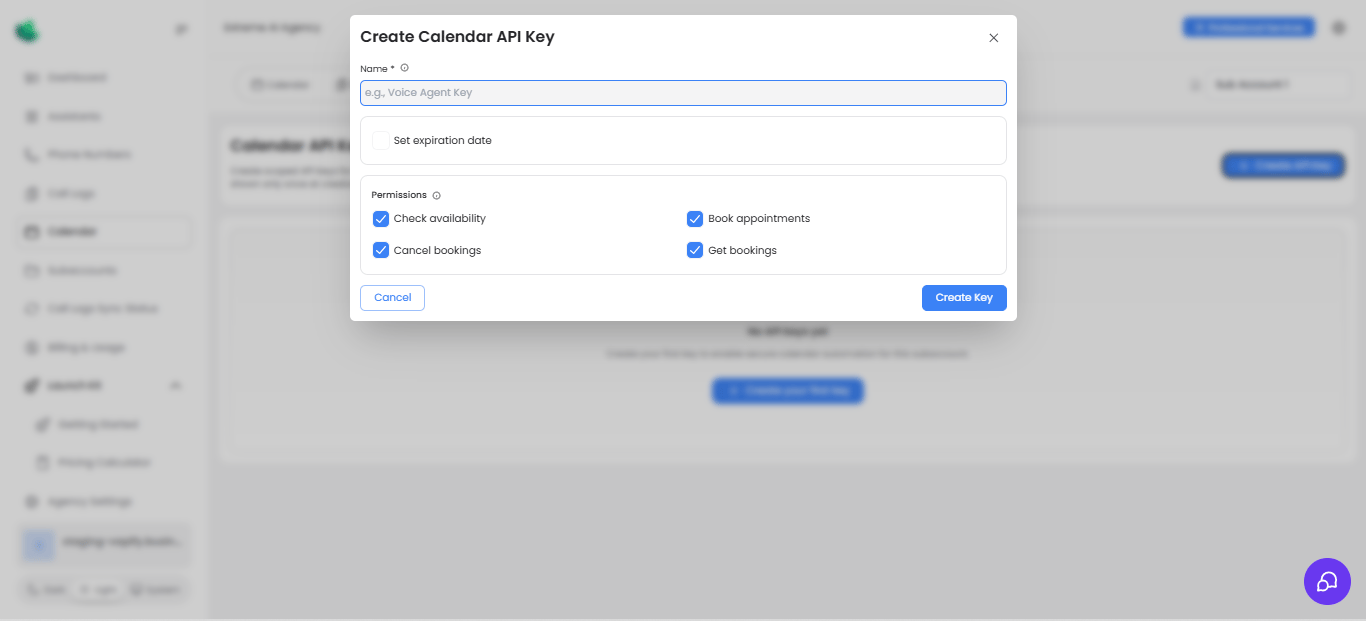
From the API Keys tab, click Create API Key and choose from these permissions: Check availability, Book appointments, Get bookings, Cancel bookings.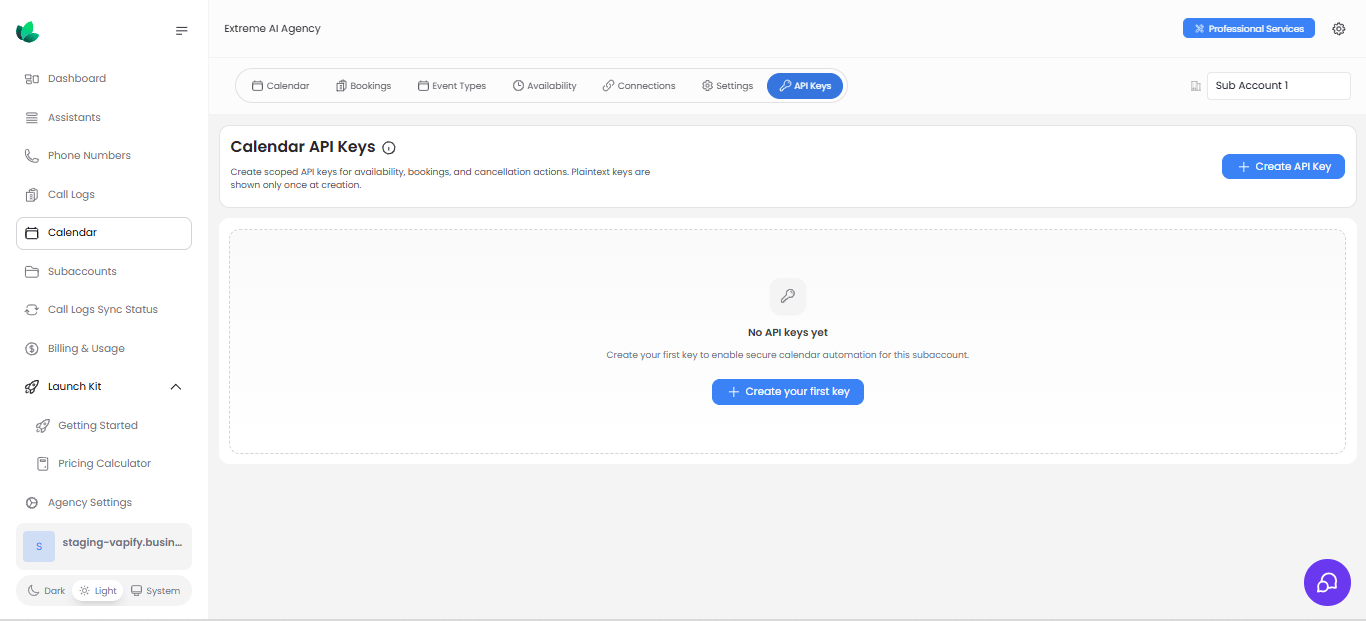
Related Articles
- Understanding Sub Accounts: how calendar settings stay isolated per client