
Overview
Assistants are always created in your provider’s dashboard (Vapi or Retell), never inside Vapify. This page covers syncing them and assigning one to the sub account you just created.Prerequisites
- Client created
- At least one assistant created in your provider’s dashboard, with a phone number attached if it needs to take phone calls
Steps
1
Open the General tab
Open the client’s sub account and go to the General tab.
2
Sync assistants
Add your provider API key here if this sub account uses a different provider account than your agency default, then click Save Settings. This syncs assistants from your provider.
3
Assign an assistant
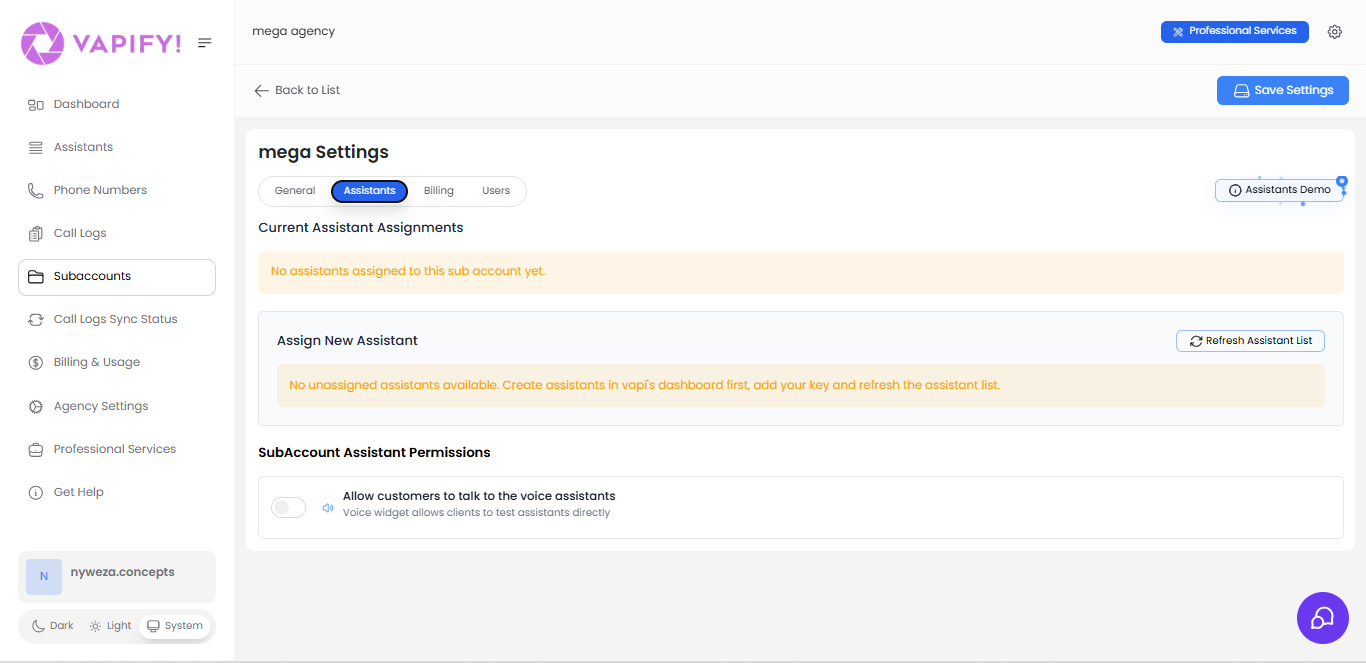
Switch to the Assistants tab, and under Assign New Assistant, select the assistant(s) to assign to this sub account.
4
Refresh if needed
If a recently created assistant doesn’t appear, click Refresh Assistant List.
An assistant can only be assigned to one sub account at a time. For similar assistants across multiple clients, create separate assistants in your provider and assign each to its own sub account.
Tips
- Attach phone numbers to assistants that need to handle phone calls. Web-call-only assistants don’t need one.
- Use a consistent naming convention in your provider dashboard (e.g., “ClientName-SalesBot”) to keep assignments easy to audit.
Troubleshooting
- Assistant not appearing: Confirm the provider API key is correct, save settings again, then click Refresh Assistant List.
- Cannot edit provider API key: This sub account has already gone live (a Billing Start Date is set); provider keys lock permanently once that happens.
Related Articles
- AI Assistants: the full assistant management reference
- Configure Pricing: set per-minute pricing for this assistant
- Vapi · Retell AI: provider-specific key and setup details