
Overview
Create a dedicated sub account for your first client. This is where their assistants, users, and billing will live, isolated from every other client.Prerequisites
- Stripe connected
- Your client’s business name and their primary contact’s name and email
Steps
1
Name the sub account
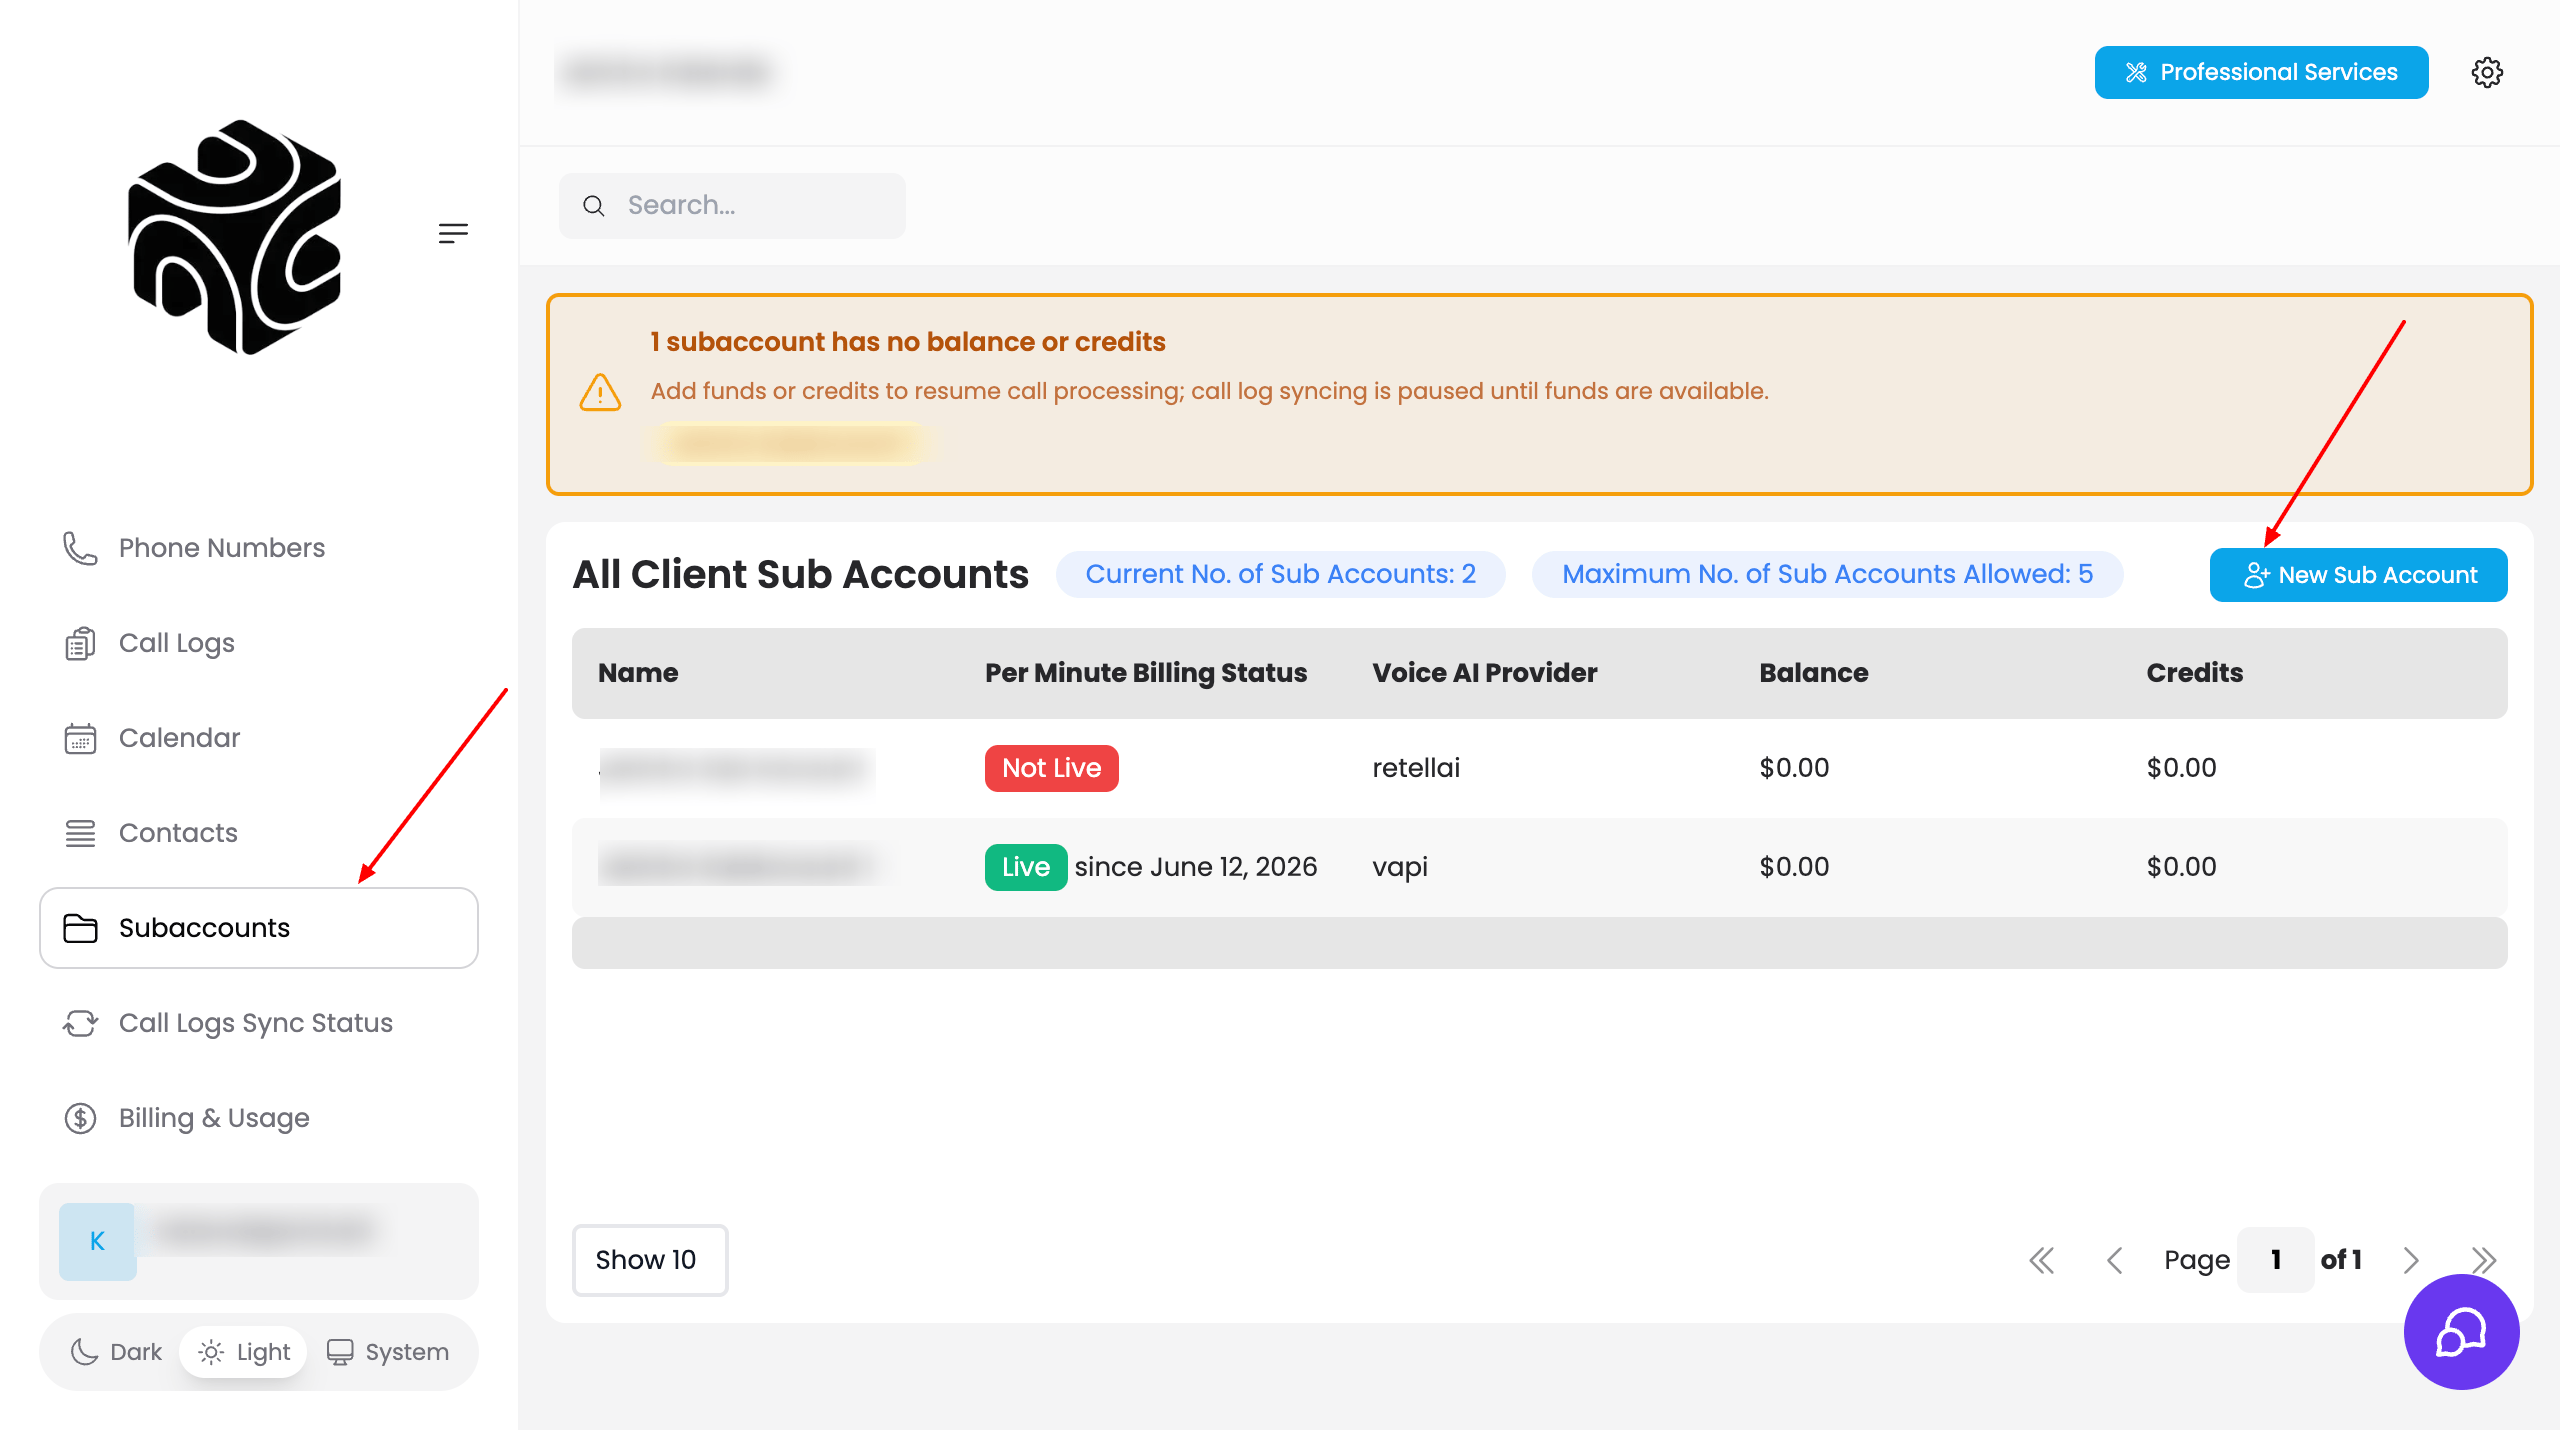
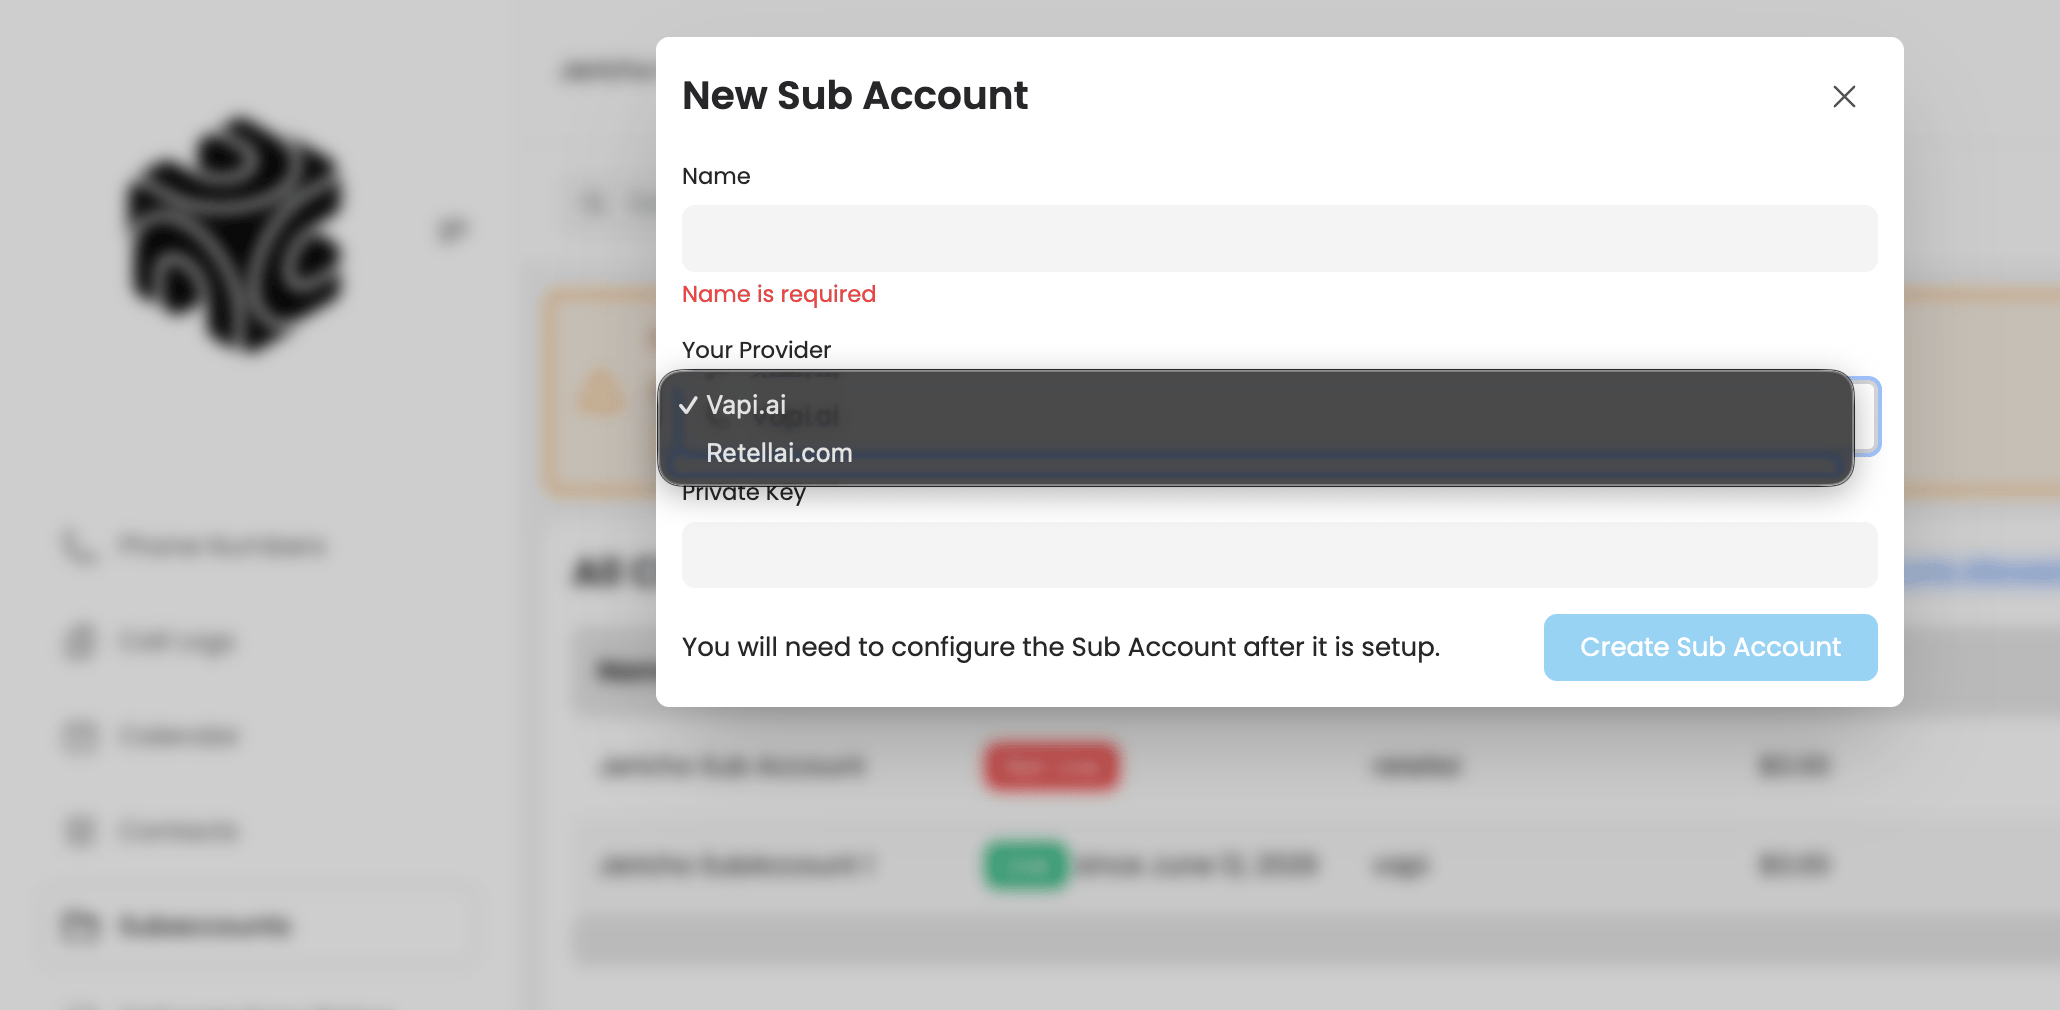
From the onboarding wizard’s Create Your First Client Sub Account step (or later, Subaccounts → New Sub Account), enter the Sub Account Name — your client’s business name (e.g., “Riverside Dental”).
2
Add the primary user
Enter the Primary User Full Name (your client’s main administrator) and Primary User Email (where login credentials will be sent).
3
Set a temporary password
Enter a Temporary Password for their first login.
4
Create
Click Create Client.
Video Tutorial
Troubleshooting
- Wrong email entered: You can edit the primary user’s email later from the sub account’s Users tab.
Related Articles
- Understanding Sub Accounts: what a sub account contains
- Invite Your Client: sharing credentials securely
- Clients: managing sub accounts day to day