Overview
Get your agency live in a few minutes. This guide walks through branding, billing, subaccounts, assistants, pricing, and client access using the same flow shown in the feature docs. Prerequisites- Your voice provider API keys (Vapi Private/Public keys or Retell API key)
- A Stripe account you can connect for client billing (Business plans and above)
Step 1: Brand your agency
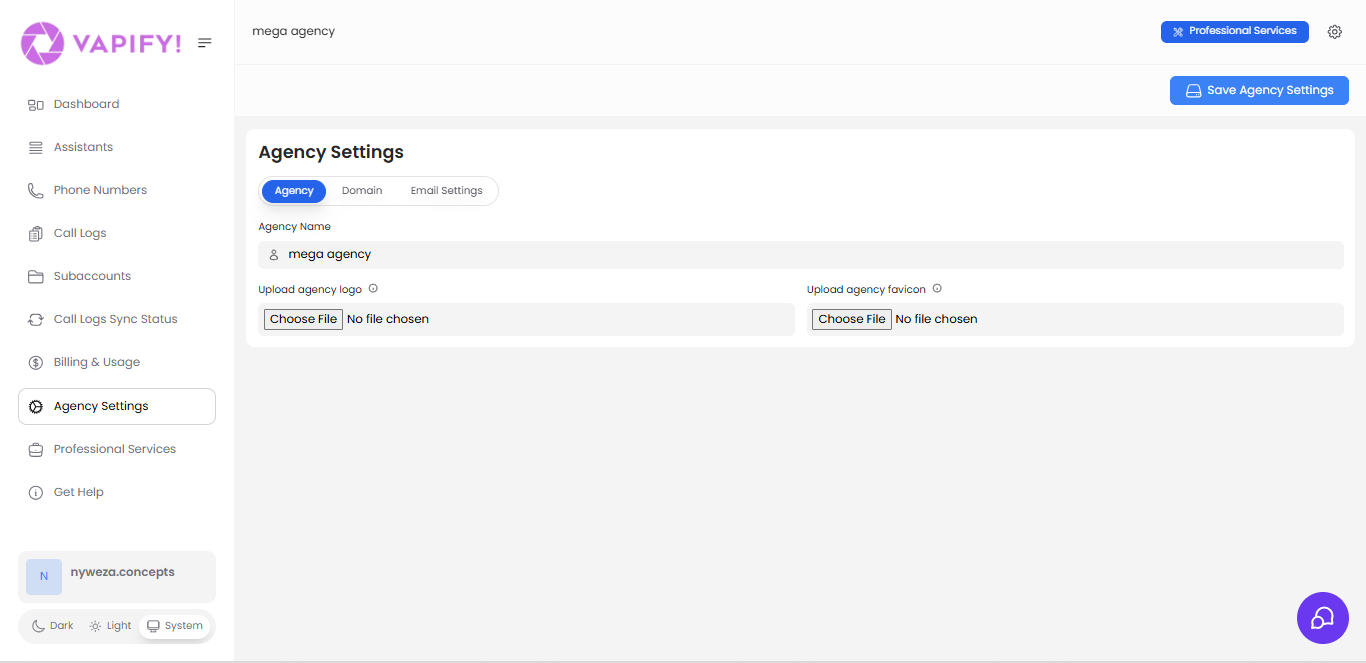
- Go to Agency Settings > Agency.
- Add your Agency Name, Logo, and Favicon.
- Click Save Agency Settings, then log out/in to see branding everywhere.
Branding is available on all plans; it applies to your dashboard, client dashboards, emails, and invoices.
Step 2: (Optional) Custom domain and email
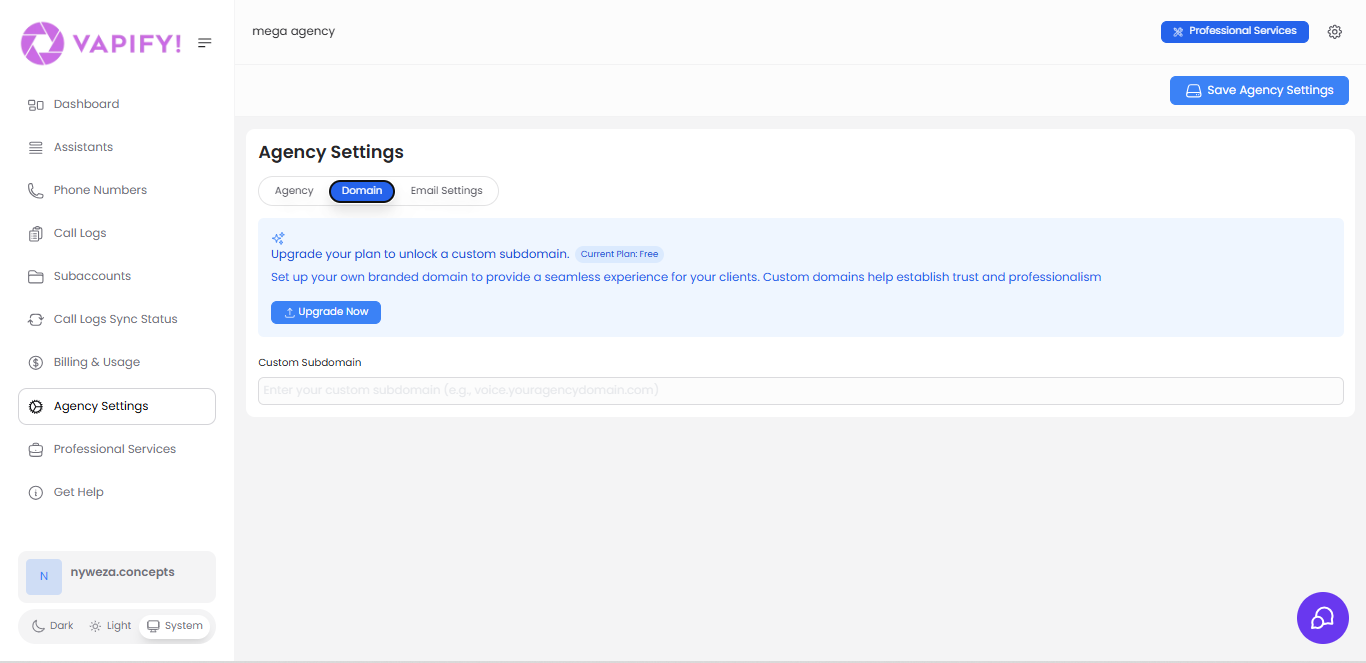
- On paid plans, set a custom subdomain (e.g.,
voice.youragency.com) from Agency Settings > Domain, then add the CNAME your DNS provider.
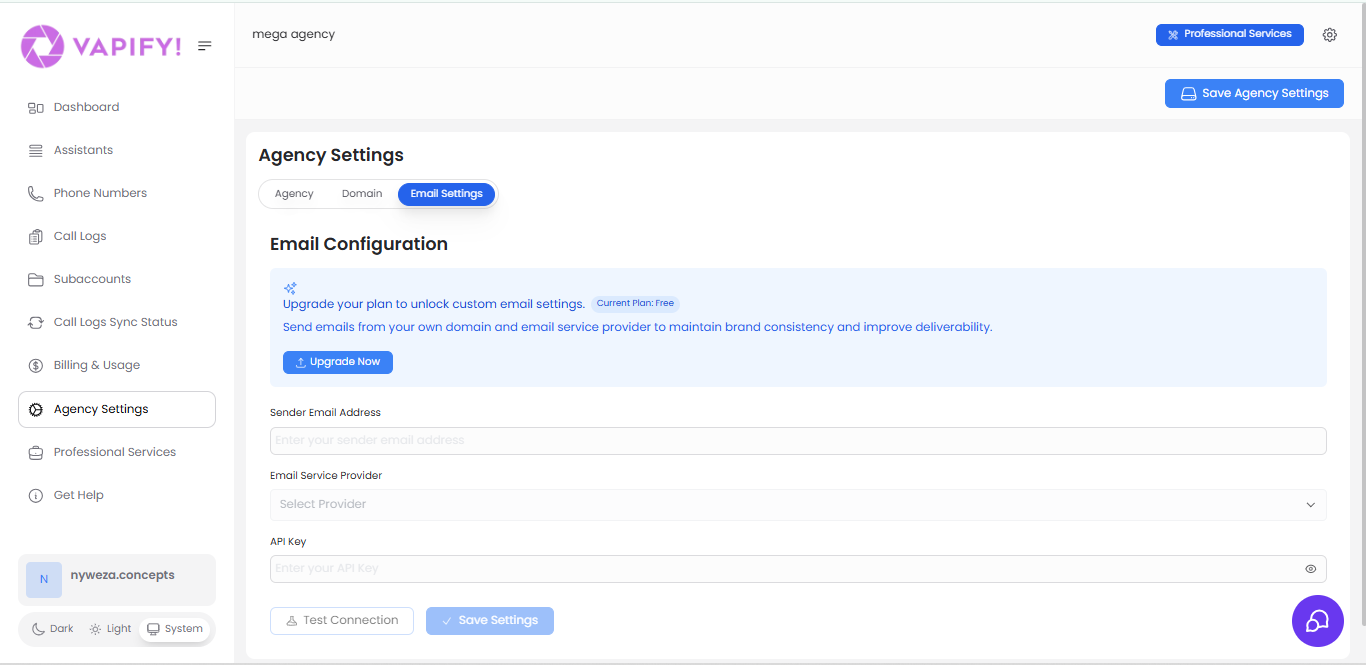
- Also on paid plans, configure your email provider from Agency Settings > Email Settings so system emails send from your domain.
Step 3: Connect Stripe
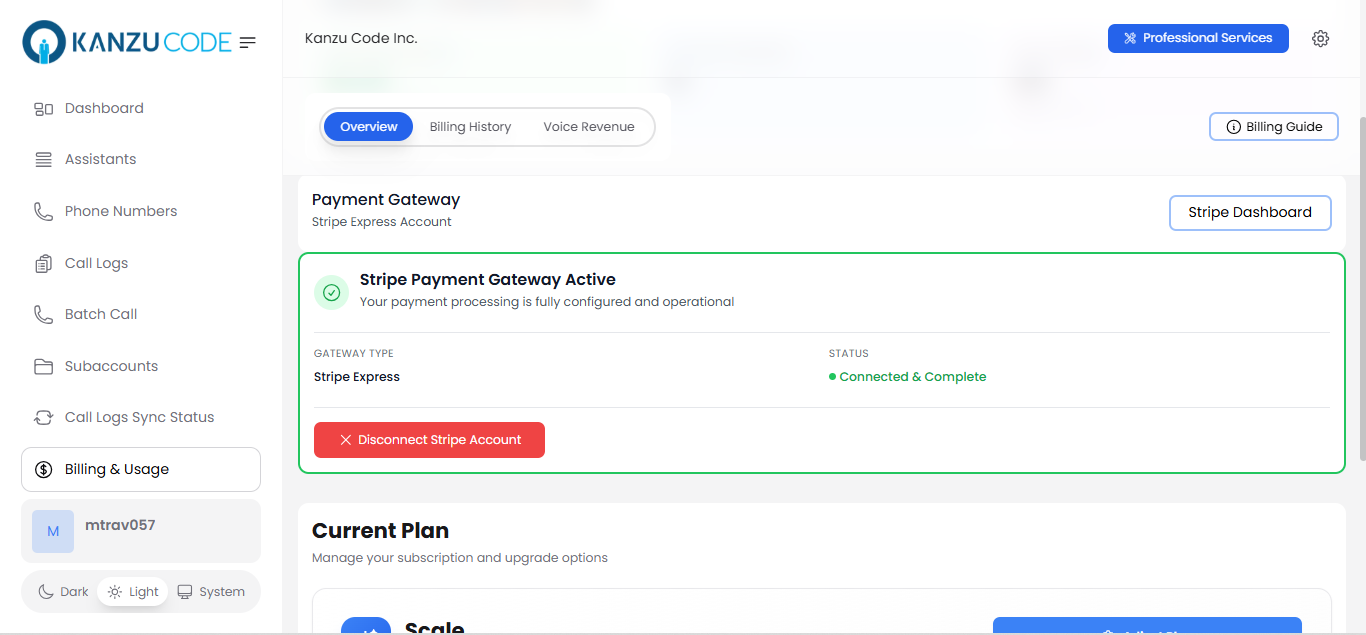
- Open Billing & Usage.
- Click Connect with Stripe and complete the Stripe onboarding flow.
- After connecting, your clients will see your branding on invoices and checkout.
Step 4: Create a subaccount and add provider keys
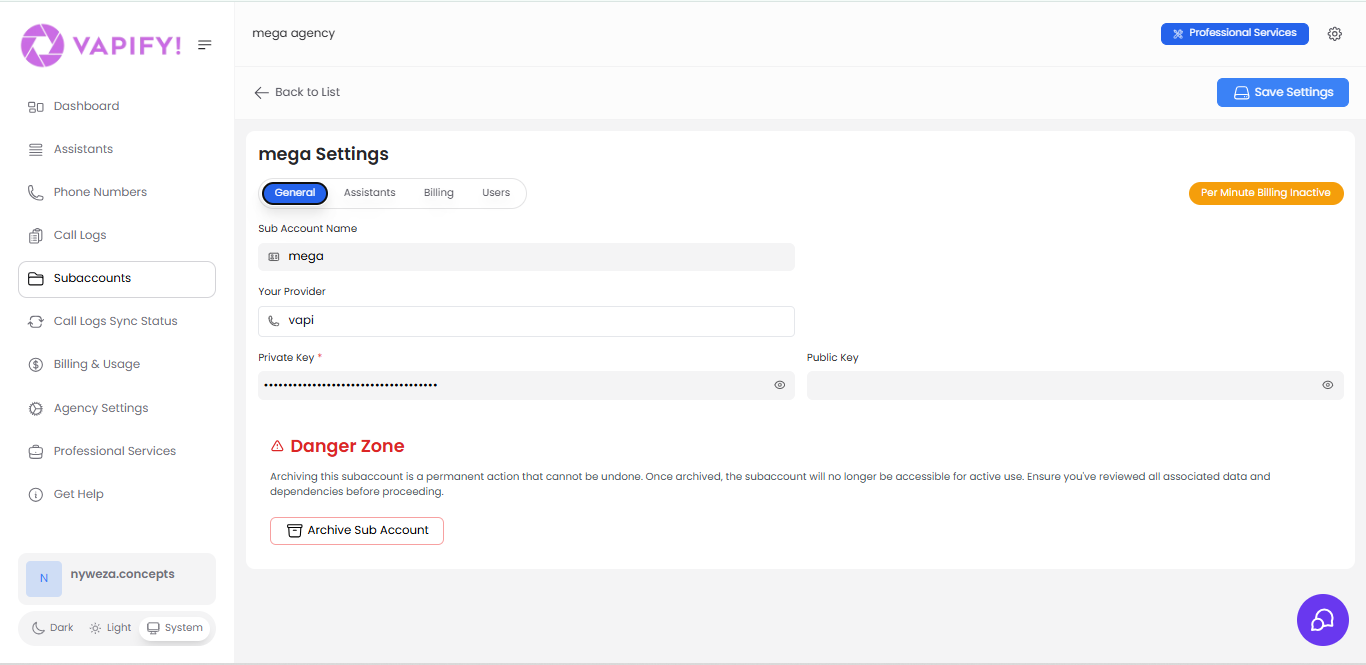
- Go to Subaccounts and create a new subaccount.
- In General, choose your provider (Vapi or Retell).
- Paste your API keys: for Vapi, add Private and Public; for Retell, add the API key in the Private Key field.
- Click Save Settings to sync assistants from your provider.
Assistants sync after a valid key is saved. You can change keys anytime before the subaccount goes live.
Step 5: Assign assistants
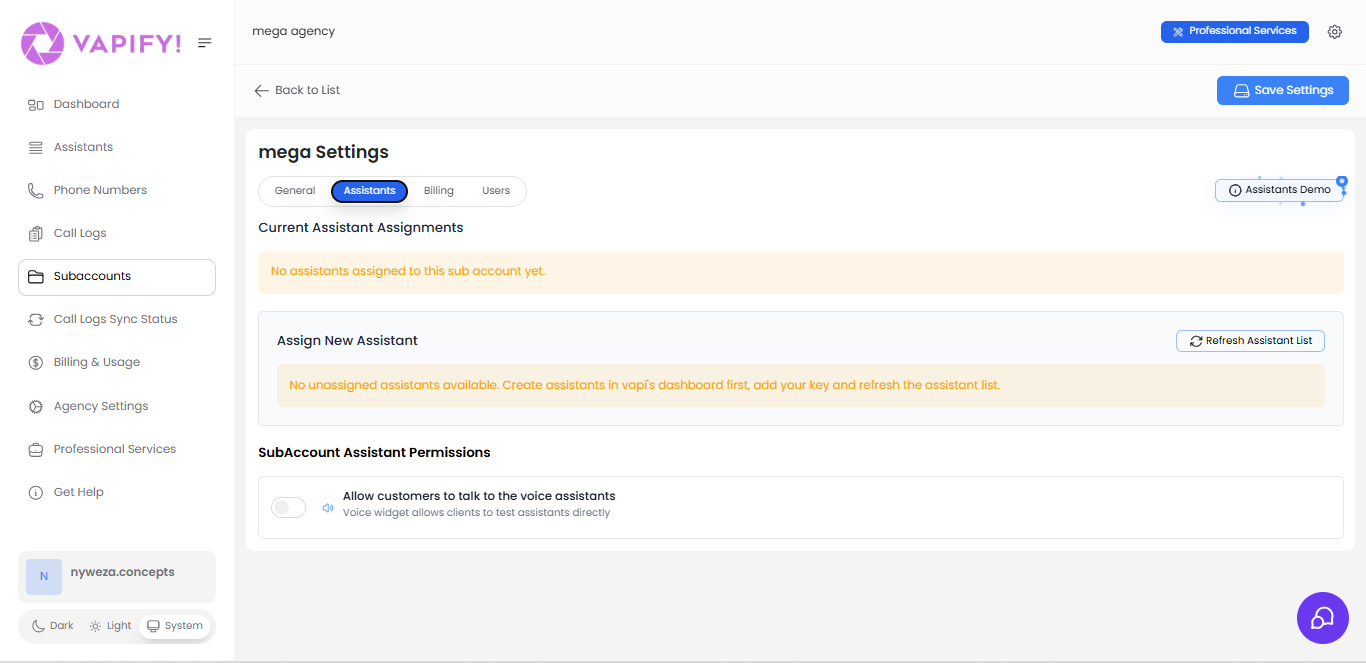
- Open the Assistants tab.
- Click Refresh Assistant List if you just created assistants in your provider.
- Assign the assistants needed for this subaccount.
Step 6: Set pricing and go live
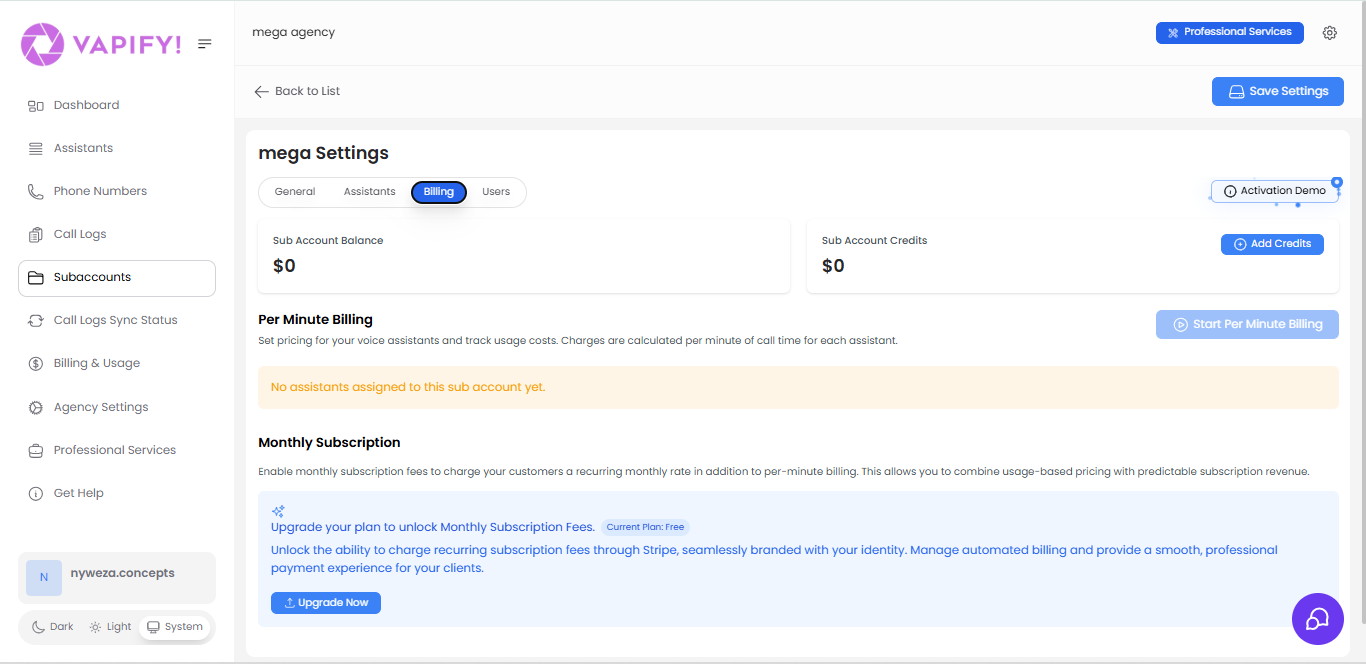
- In the Billing tab, set Per-minute pricing for each assigned assistant (ensure it exceeds your provider cost).
- On Business/Scale/Partner plans, you can also set a Monthly fee that bills via Stripe.
- Choose a Billing start date (go live). This begins applying your pricing to call usage and locks the provider API keys. You can still update assistant assignments after this point.
Pick the go-live date carefully; it can only be set once.
Step 7: Invite your client

- In the Users tab, click New Sub Account User.
- Add the client’s name, email, and role (Administrator can manage billing/top-ups; Member has limited access).
- Send the invite. If you set up custom email, it sends from your domain. Use View as Sub Account to preview their view.
Step 8: Monitor billing and usage
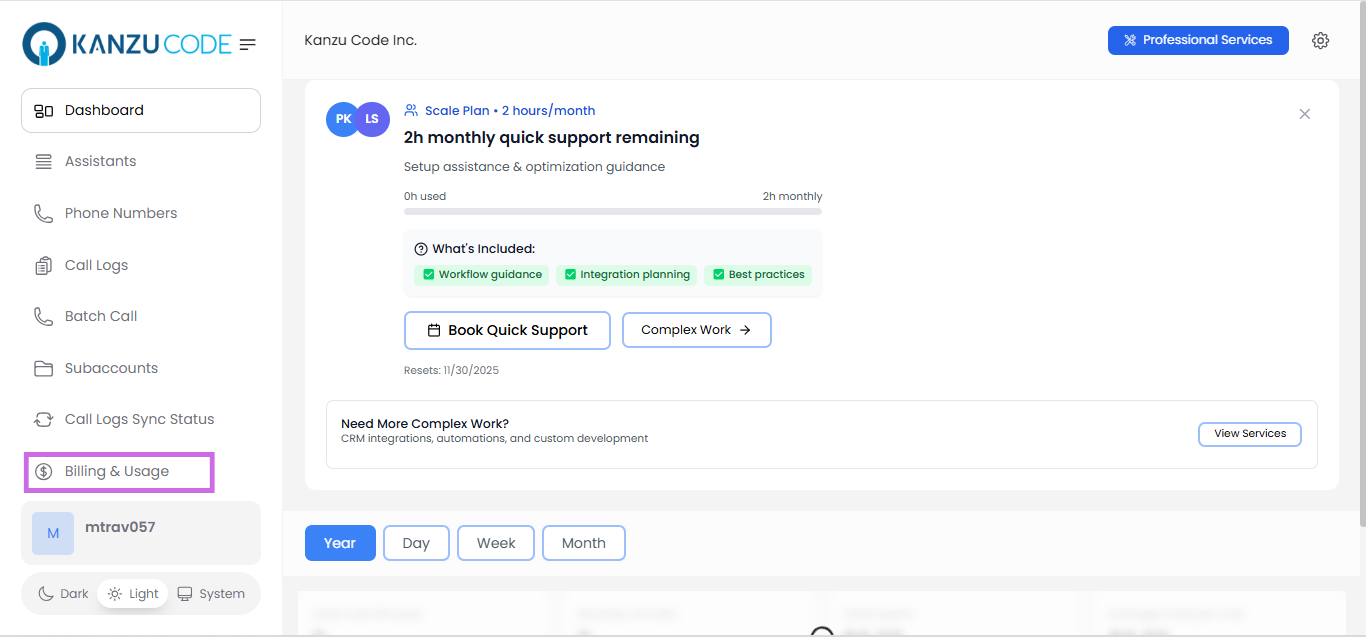
- In Billing & Usage, review Billing Summary and Voice Usage Revenue to see costs, pricing, and profit.
- Use Call Logs to inspect transcripts, recordings, and ended reasons for quality control.