> ## Documentation Index
> Fetch the complete documentation index at: https://docs.vapify.agency/llms.txt
> Use this file to discover all available pages before exploring further.
# Quick Start Guide
> Set up Vapify fast: brand your agency, connect billing, add subaccounts, assign assistants, and go live.
## Overview
Get your agency live in a few minutes. This guide walks through branding, billing, subaccounts, assistants, pricing, and client access using the same flow shown in the feature docs.
**Prerequisites**
* Your voice provider API keys (Vapi Private/Public keys or Retell API key)
* A Stripe account you can connect for client billing (Business plans and above)
***
## Step 1: Brand your agency
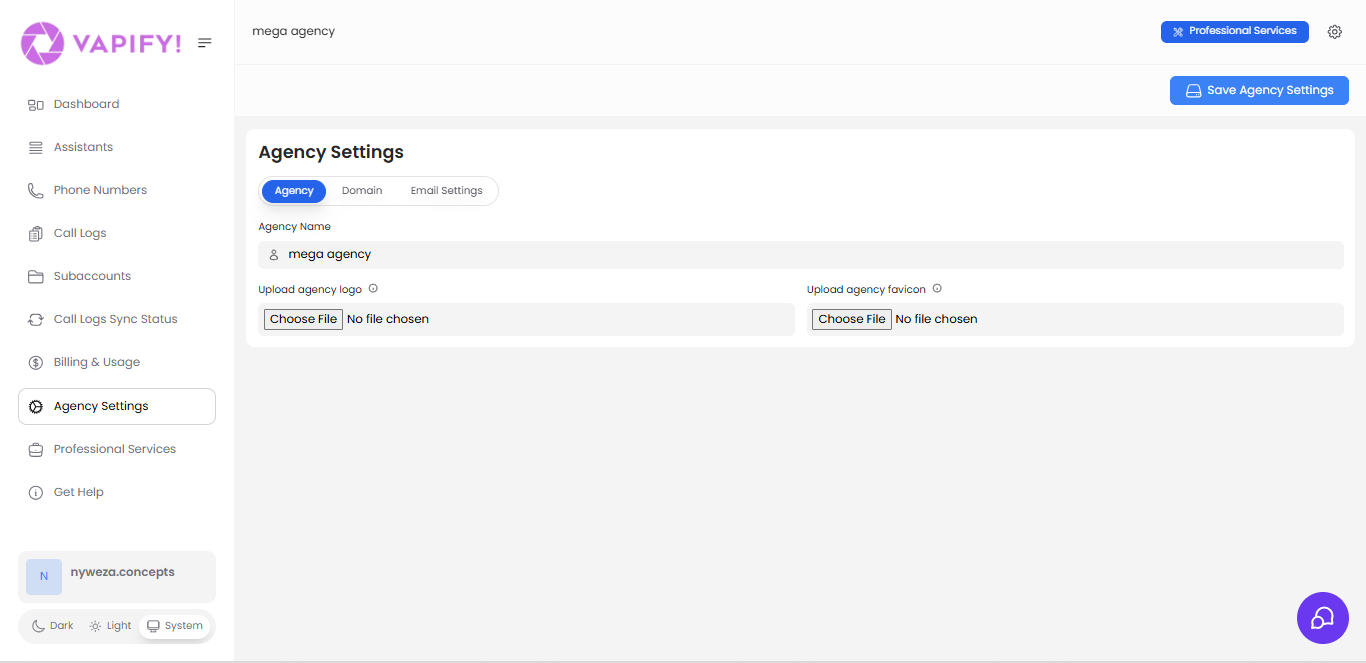 1. Go to **Agency Settings** > **Agency**.
2. Add your **Agency Name**, **Logo**, and **Favicon**.
3. Click **Save Agency Settings**, then log out/in to see branding everywhere.
Branding is available on all plans; it applies to your dashboard, client dashboards, emails, and invoices.
***
## Step 2: (Optional) Custom domain and email
1. Go to **Agency Settings** > **Agency**.
2. Add your **Agency Name**, **Logo**, and **Favicon**.
3. Click **Save Agency Settings**, then log out/in to see branding everywhere.
Branding is available on all plans; it applies to your dashboard, client dashboards, emails, and invoices.
***
## Step 2: (Optional) Custom domain and email
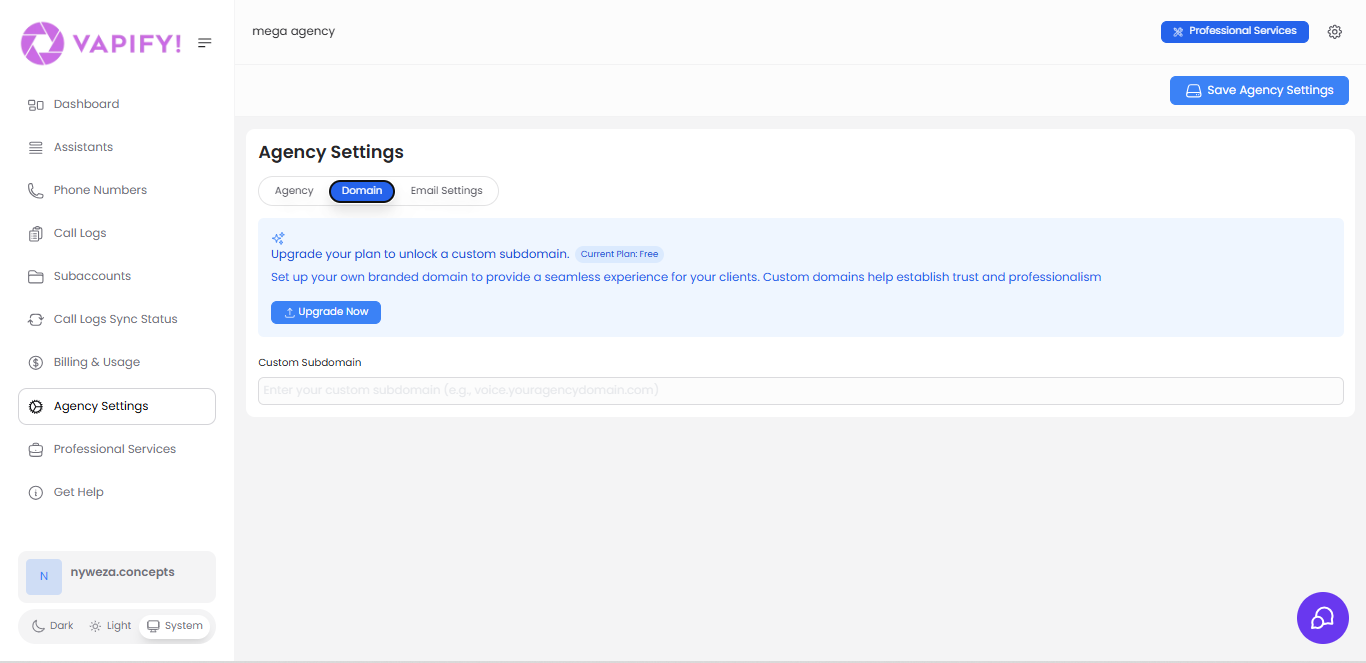 * On paid plans, set a custom subdomain (e.g., `voice.youragency.com`) from **Agency Settings** > **Domain**, then add the CNAME your DNS provider.
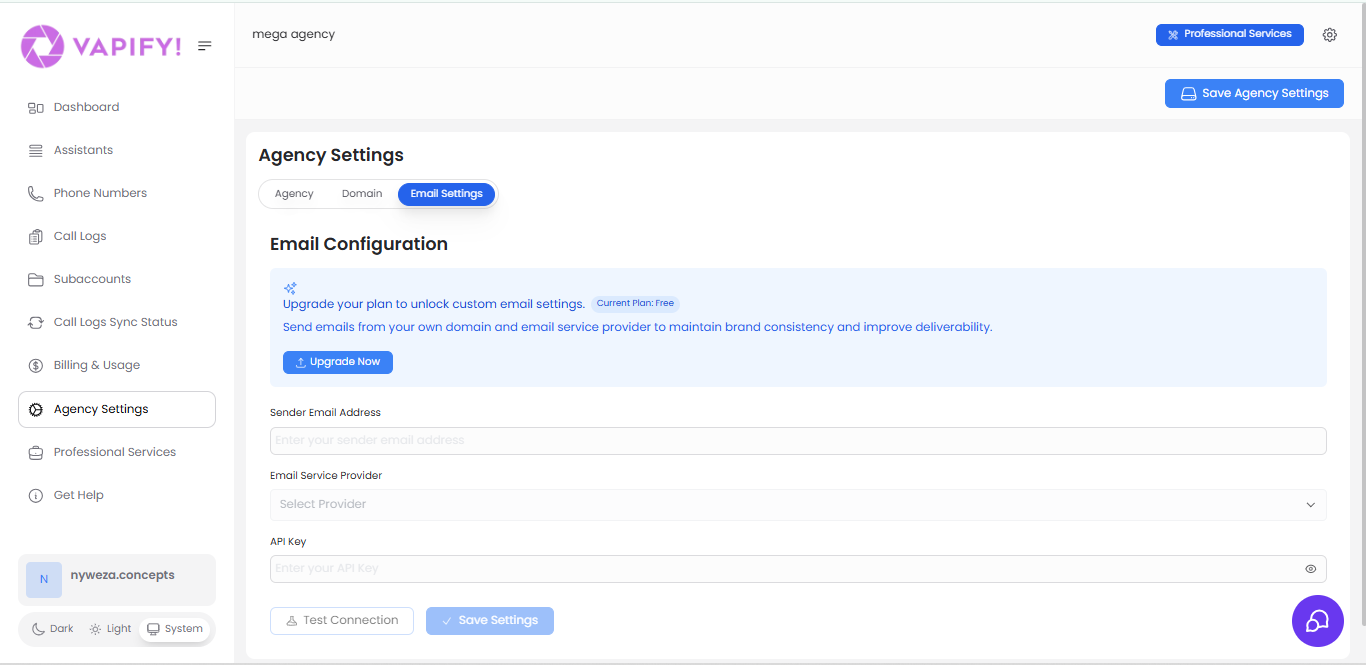 * Also on paid plans, configure your email provider from **Agency Settings** > **Email Settings** so system emails send from your domain.
***
## Step 3: Connect Stripe
* Also on paid plans, configure your email provider from **Agency Settings** > **Email Settings** so system emails send from your domain.
***
## Step 3: Connect Stripe
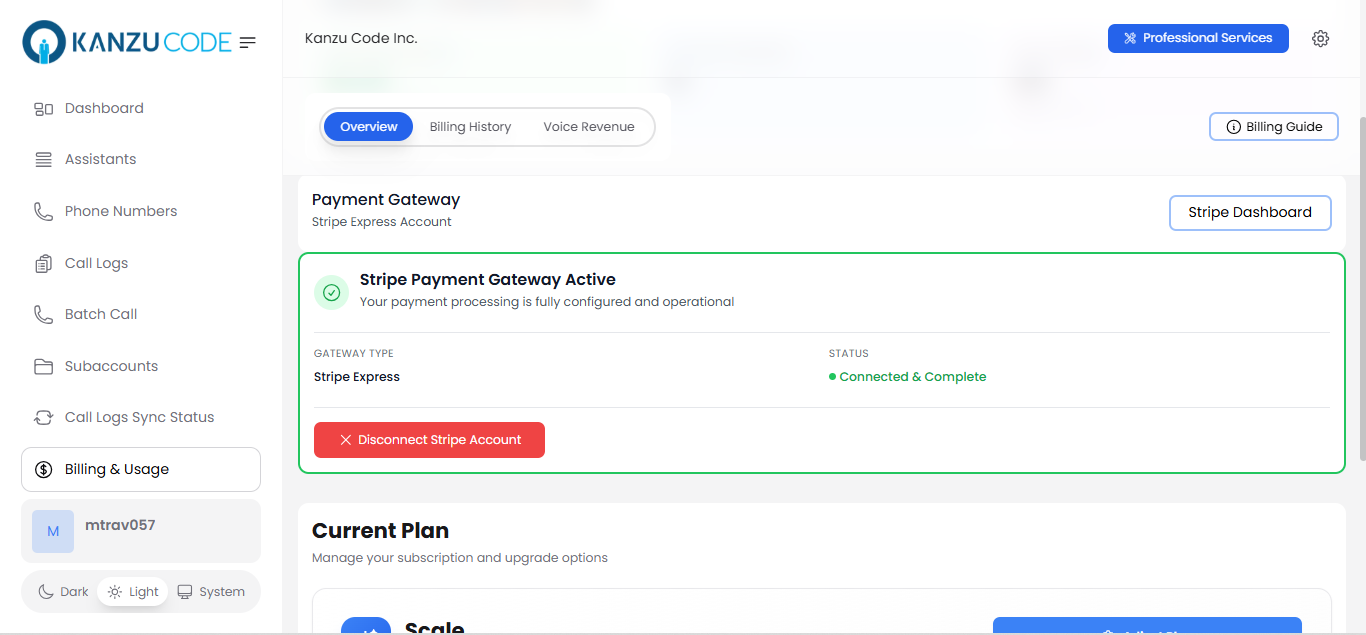 1. Open **Billing & Usage**.
2. Click **Connect with Stripe** and complete the Stripe onboarding flow.
3. After connecting, your clients will see your branding on invoices and checkout.
***
## Step 4: Create a subaccount and add provider keys
1. Open **Billing & Usage**.
2. Click **Connect with Stripe** and complete the Stripe onboarding flow.
3. After connecting, your clients will see your branding on invoices and checkout.
***
## Step 4: Create a subaccount and add provider keys
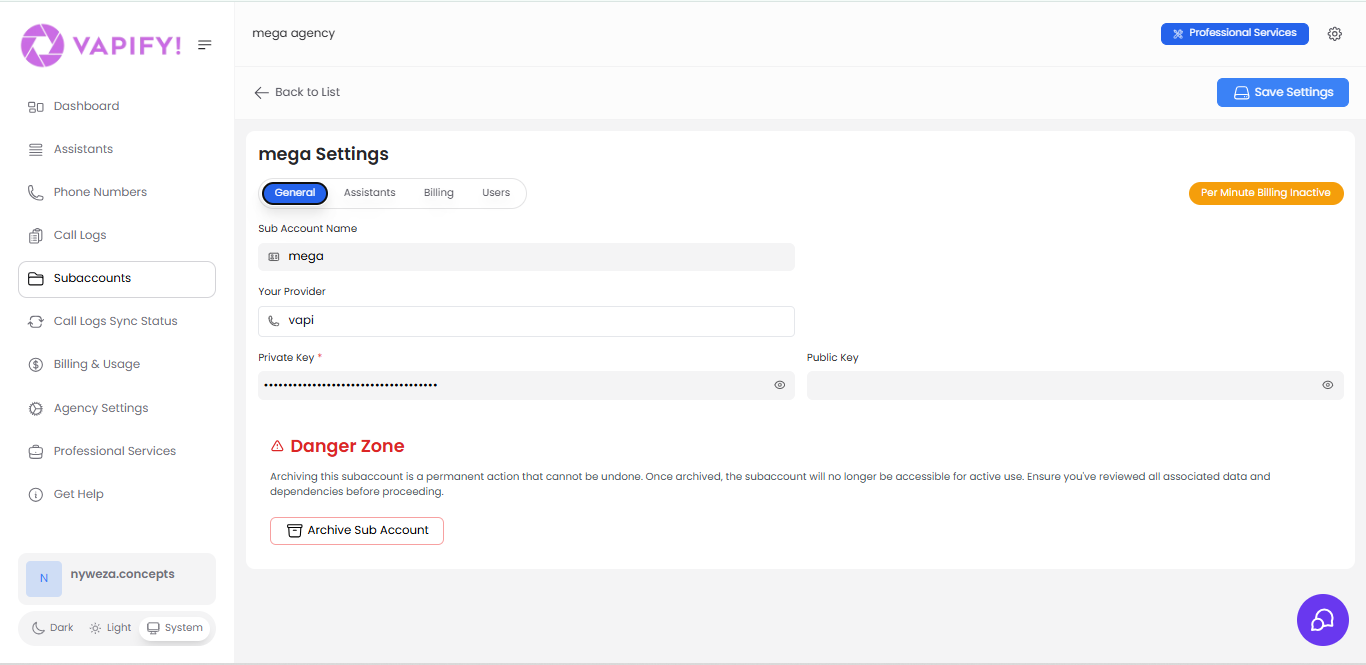 1. Go to **Subaccounts** and create a new subaccount.
2. In **General**, choose your provider (**Vapi** or **Retell**).
3. Paste your API keys: for Vapi, add Private and Public; for Retell, add the API key in the Private Key field.
4. Click **Save Settings** to sync assistants from your provider.
Assistants sync after a valid key is saved. You can change keys anytime before the subaccount goes live.
***
## Step 5: Assign assistants
1. Go to **Subaccounts** and create a new subaccount.
2. In **General**, choose your provider (**Vapi** or **Retell**).
3. Paste your API keys: for Vapi, add Private and Public; for Retell, add the API key in the Private Key field.
4. Click **Save Settings** to sync assistants from your provider.
Assistants sync after a valid key is saved. You can change keys anytime before the subaccount goes live.
***
## Step 5: Assign assistants
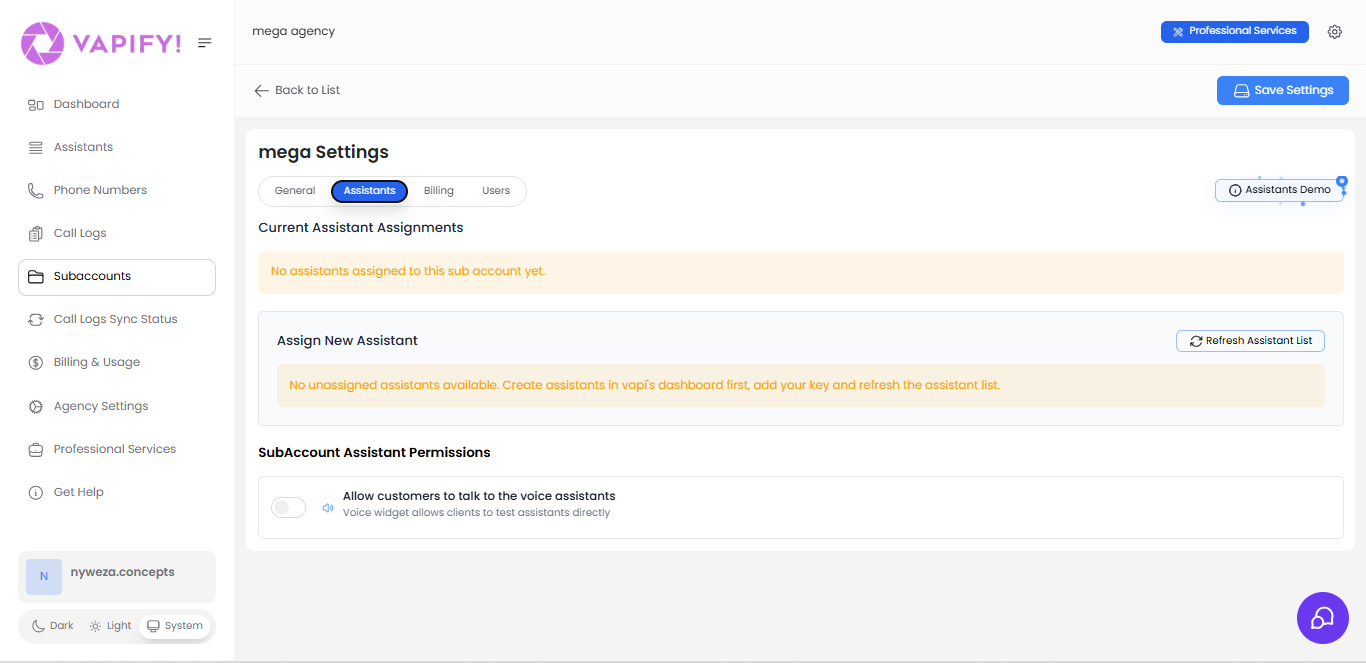 1. Open the **Assistants** tab.
2. Click **Refresh Assistant List** if you just created assistants in your provider.
3. Assign the assistants needed for this subaccount.
Once you set a billing start date (go live), you cannot edit the provider API keys. You can still add or remove assistants at any time after going live.
***
## Step 6: Set pricing and go live
1. Open the **Assistants** tab.
2. Click **Refresh Assistant List** if you just created assistants in your provider.
3. Assign the assistants needed for this subaccount.
Once you set a billing start date (go live), you cannot edit the provider API keys. You can still add or remove assistants at any time after going live.
***
## Step 6: Set pricing and go live
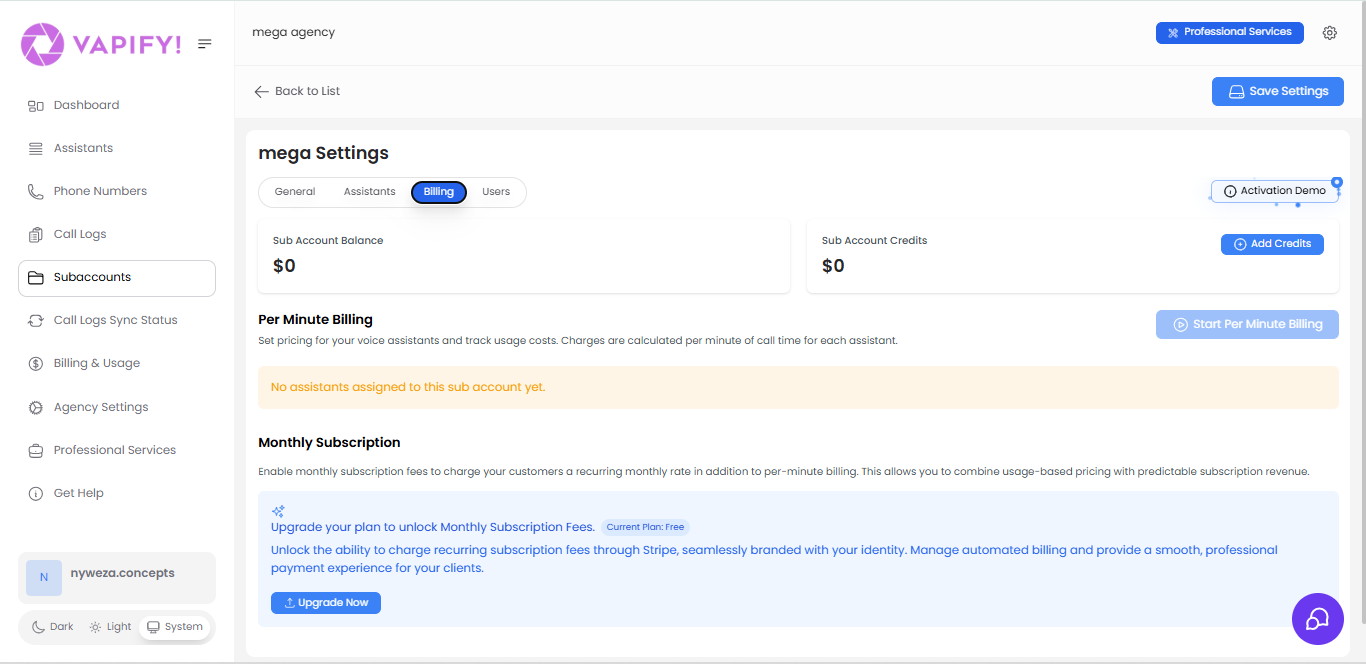 1. In the **Billing** tab, set **Per-minute pricing** for each assigned assistant (ensure it exceeds your provider cost).
2. On Business/Scale/Partner plans, you can also set a **Monthly fee** that bills via Stripe.
3. Choose a **Billing start date** (go live). This begins applying your pricing to call usage and locks the provider API keys. You can still update assistant assignments after this point.
Pick the go-live date carefully; it can only be set once.
***
## Step 7: Invite your client
1. In the **Billing** tab, set **Per-minute pricing** for each assigned assistant (ensure it exceeds your provider cost).
2. On Business/Scale/Partner plans, you can also set a **Monthly fee** that bills via Stripe.
3. Choose a **Billing start date** (go live). This begins applying your pricing to call usage and locks the provider API keys. You can still update assistant assignments after this point.
Pick the go-live date carefully; it can only be set once.
***
## Step 7: Invite your client
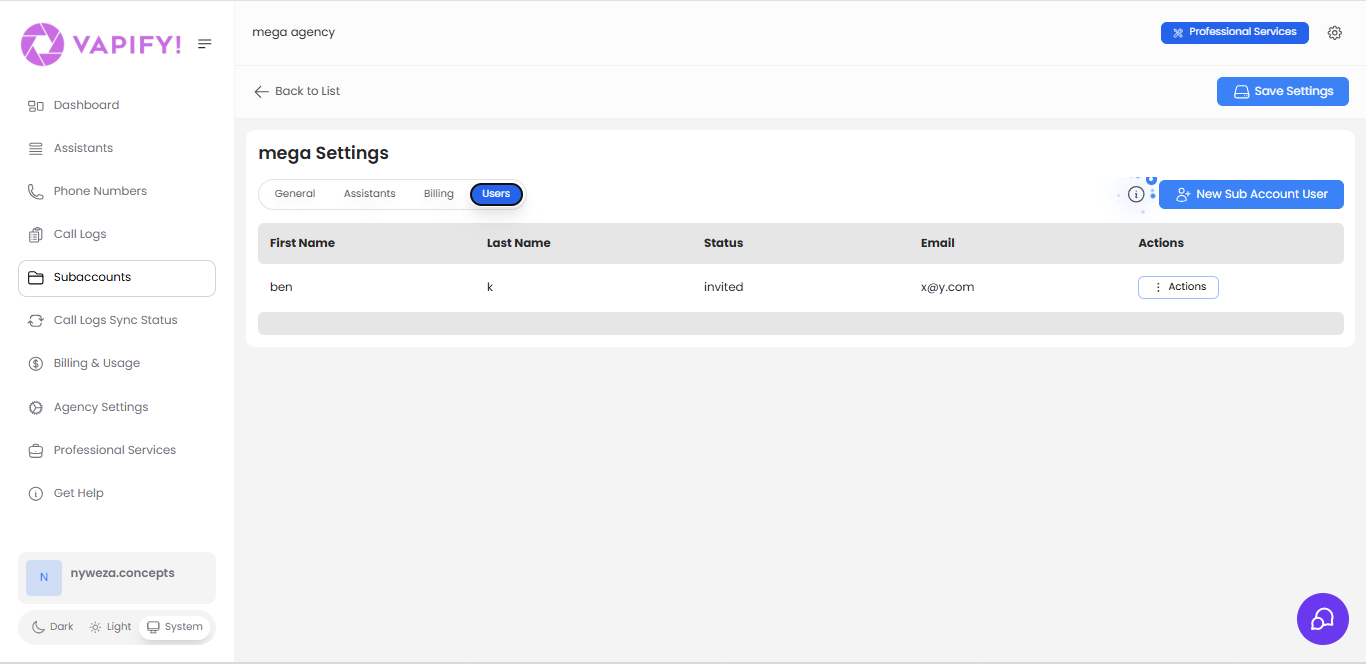 1. In the **Users** tab, click **New Sub Account User**.
2. Add the client's name, email, and role (Administrator can manage billing/top-ups; Member has limited access).
3. Send the invite. If you set up custom email, it sends from your domain. Use **View as Sub Account** to preview their view.
***
## Step 8: Monitor billing and usage
1. In the **Users** tab, click **New Sub Account User**.
2. Add the client's name, email, and role (Administrator can manage billing/top-ups; Member has limited access).
3. Send the invite. If you set up custom email, it sends from your domain. Use **View as Sub Account** to preview their view.
***
## Step 8: Monitor billing and usage
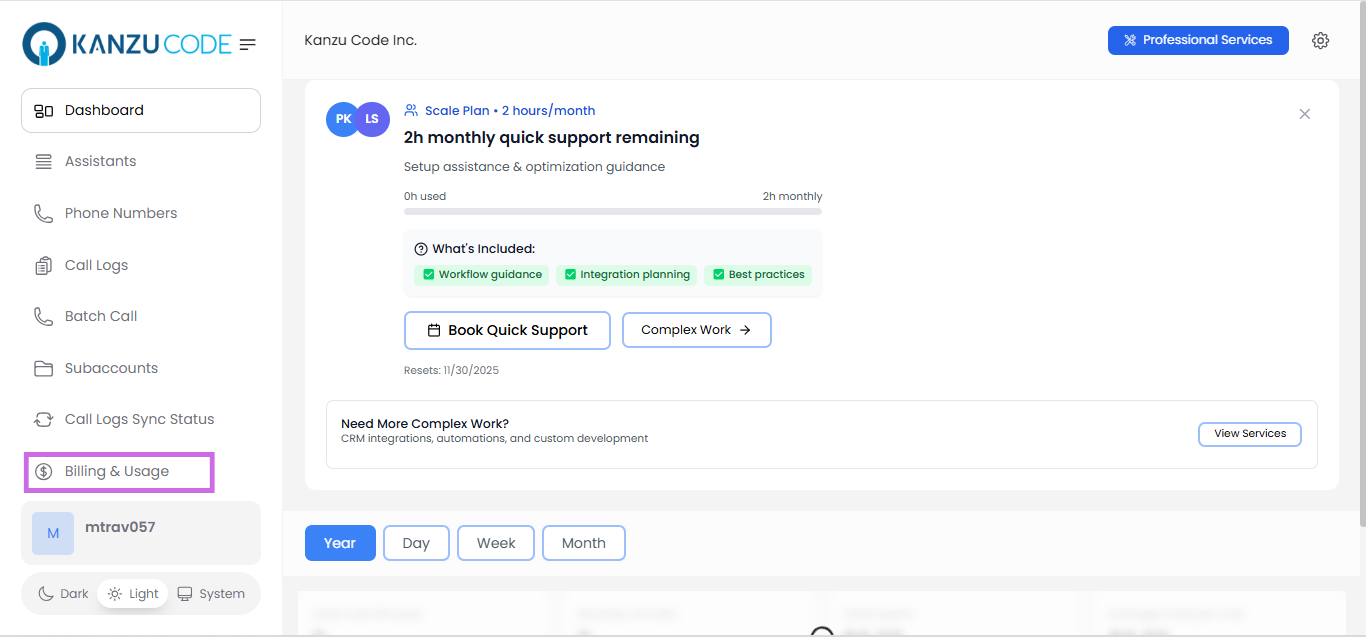 * In **Billing & Usage**, review **Billing Summary** and **Voice Usage Revenue** to see costs, pricing, and profit.
* Use **Call Logs** to inspect transcripts, recordings, and ended reasons for quality control.
* In **Billing & Usage**, review **Billing Summary** and **Voice Usage Revenue** to see costs, pricing, and profit.
* Use **Call Logs** to inspect transcripts, recordings, and ended reasons for quality control.